So… Miss S decided that she can’t eat blueberry pancakes almost every weekend and not have a set of felt ones to play with. So, I sewed some up yesterday afternoon.
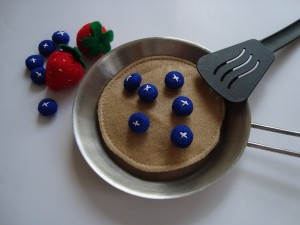
Blueberry Pancakes in a pan
Here’s how I made them
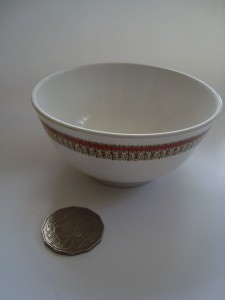
I used the rice bowl the trace the pancakes, and the coin for the berries
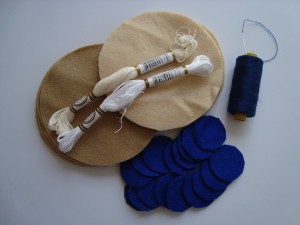
What you need to make 6 pancakes & 18 blueberries
- Trace and cut 6 cream and 6 light brown felt circles (rice bowl size) and 18 blue ones (coin size).
- You need some embroidery yarn, sewing thread and a needle too.
Make the Pancakes
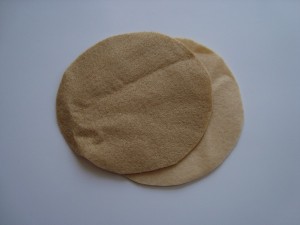
Take 1 each of the cream and light brown felt circles
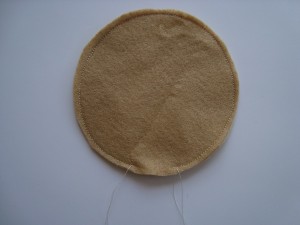
Sew around the edge, leaving a 1.5cm gap
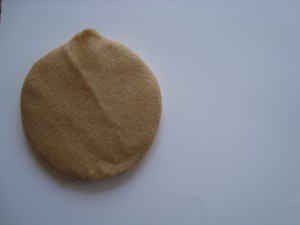
Flip inside out. Stuff VERY sparingly.

Finish with a blanket stitch or running stitch
- I opted to finish the others off on the sewing machine as it was much faster
 .
.
- The blanket stitching does add some dimension though.
Make the Blueberries
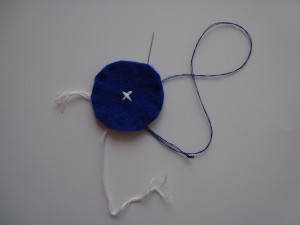
Stitch an X with the white embroidery thread. Sew a running stitch around the edge.
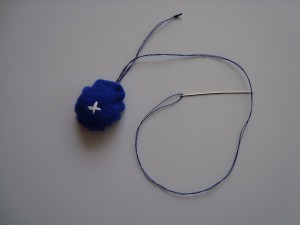
Pull the blue thread to gather the edges together.
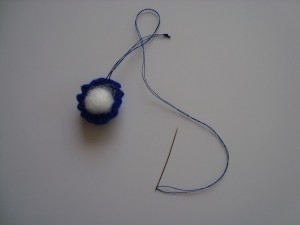
Stuff the little hollow with some stuffing. Pull the thread tight and stitch the opening closed.
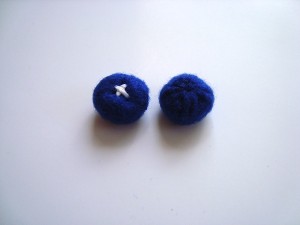
Finished berries
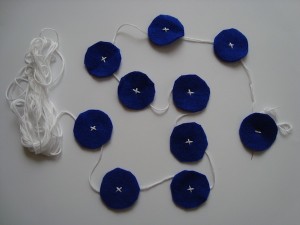
Here's a shortcut I used. 
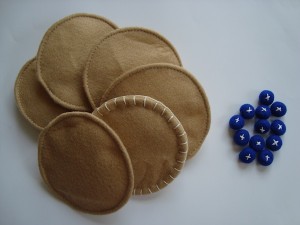
Finished pancakes and berries
This was fun. I think I might try peas and pea pods next seeing that I’ve already got the green felt out. 
Check out my related posts:
- Felt Food – Part Two
- Felt Dumplings
- Felt Food – Part One
- How to make a boring top not boring
- Epicurious
 .
.![]()


5 Responses
Very nice! I love the photo. S must be very happy playing with them. Very nice coat in your other post. I guess you can make pretty much anything.
That is very pretty! Mmm…food…
Didn’t it turn out well? I thought the blue felt was too bright, but in berry form, it looked great.
It turned out very well indeed. I think the berries need to be that bright to look so good.
Very creative! My daughter would love something like that, and your instructions make it look doable. I just need to get some felt from somewhere.