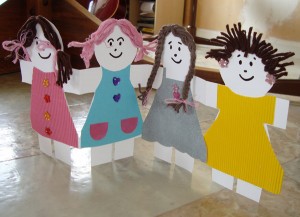
“Girls”
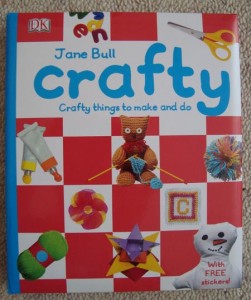
We made linked paper dolls a while ago, and my daughter has never tired of them. In fact, she asks to make them again and again very often. She calls them “Girls”. These “Girls” won us a craft book from the huggies craft ideas competition. It’s an old classic, but it is so much fun. I think I had more fun than she did. ![]()
Materials:
- a piece of white/beige paper (A3 makes bigger dolls, but A4 works too)
- marker pen
- glue
- paper or fabric scraps
- ribbons, yarn, buttons, stickers, etc
What to do:
- Fold the paper into 4 equal columns.
- Draw a shape of a girl/boy with linked hands, feet or skirt. You can trace a gingerbread man cutter for this.
- Cut out the shape, making sure that you keep the hands and feet of each column joined together. (I joined the hands and dress shape).
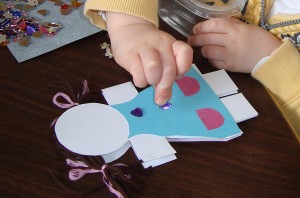
- Unfold, then use paper or fabric scraps (wallpaper samples are good too) to make clothes, shoes, decorate with ribbons, buttons (even dried beans/pasta will work), make hair with the yarn.
- Draw the eyes (you can use goggle eyes too), nose and mouth when you are done.
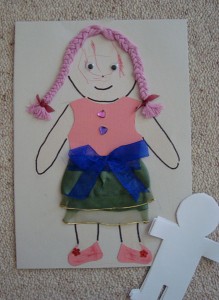
It’s the decorating process that’s the most enjoyable – it’s gotten to the point where I have pre-cut “Girls”, clothes and hair ready to go for when she wants to make some “girls”. Single dolls are good too – they are called “Girl” and they are much bigger than the girls as they take up a whole sheet of A4 paper/card. Just trace an outline onto some paper and decorate to your hearts’ content.
Check out my related posts:
- General
- KIds' Crafts
- Paper Craft


No comments yet!